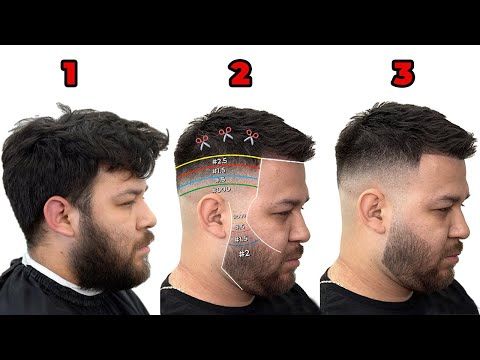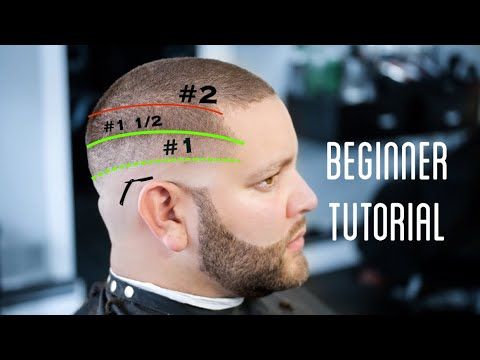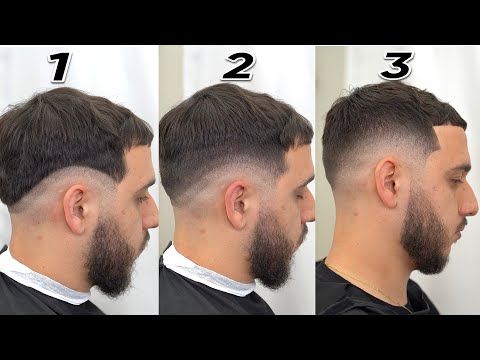
Quick Fades for Beginners: Step-by-Step Guide
Quick Fades for Beginners: Master the Basics in Minutes
You don’t need years behind the chair to pull off a clean fade. Felix Faded’s quick-fade method is designed for absolute beginners—no prior barbering experience required. This tutorial breaks down the essential steps, with visual cues and key pro tips, so you can deliver even, confident fades from your first cut.
What You’ll Need
Clippers (with guards #0–#3)
Trimmer
Comb
Scissors (optional for the top)
Cape or towel
Spray bottle (optional)
Mirror and good lighting
Step-by-Step: The Fast Fade Process

1. Prep & Section
Drape a cape/towel and comb hair evenly.
Section off the top if keeping it longer.
Pro Tip: Wet or lightly damp hair is easier to control.
2. Start with the Sides
Use a #1 guard on your clippers.
Work upwards from the sideburn, moving up and out so you naturally blend as you go.
Go all the way around the head for consistency.
3. Create Your Fade Line
Switch to a shorter guard (#0 or remove guard for a skin fade).
Cut a neat line around the lower sides and back—this marks where the fade will start and helps you visualise your blend.
Check in the mirror for an even, symmetrical guide.
4. Blend the Fade
Move up to a #2 guard; start just above your fade line.
Use a flicking (up-and-out) motion to merge the shorter hair below with the longer hair above.
Work methodically: slow, overlapping passes give a smoother finish.
If you’re unsure, go a guard longer and work down for extra safety.
5. Taper the Neck & Finish the Sides
Take the guard off (or use your trimmer) to tidy the neckline and area around the ears.
Use gentle, careful motions to avoid harsh lines—aim for a natural taper into the skin.
6. Blend the Top (Optional)
If trimming the top, use scissors or a longer guard to blend into the sides. Comb hair up and trim to the desired length, ensuring the transition from sides to top is smooth.
7. Detail and Check Your Work
Use your trimmer for crisp edges around the hairline, sideburns, and neck.
Spin the chair or use a hand mirror to spot and blend any missed lines or patches.
Run your hand over the fade—your fingers can catch uneven spots your eyes might miss.

Pro Tips for Beginner Barbers
Go slow: Take your time, especially around guidelines and blending areas.
Flick out: Don’t dig in at the fade lines—always use an upward, flicking motion with the clippers.
Brush often: Use a brush or comb between passes to reveal any missed sections.
Work in good light: Shadows can hide imperfections, so face your client toward natural or bright light.
Start longer if nervous: It’s easier to take more off than put hair back!
Video Walkthroughs for Visual Learners

Common Beginner Mistakes to Avoid
Using the same pressure everywhere—lighten up as you move higher in the fade.
Not blending between guard sizes—always overlap for a seamless result.
Rushing the neckline or edges—these finishing touches make the cut look pro.
Not checking both sides for symmetry—take a final look from all angles.
Final Thoughts
Quick fades are a skill any beginner can master with patience and the right process. Practice often, check your progress in good light, and keep refining your blending and detailing. Every pro barber—Felix included—started just like this!
Have questions or want to see more tutorials? Share your first fades with #FelixFaded or drop your struggles in the comments for tailored advice!
